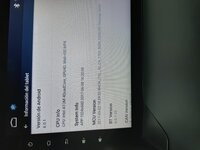
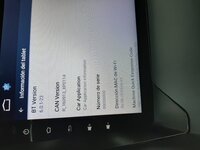
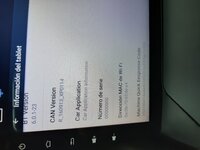
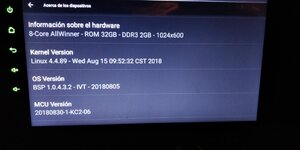
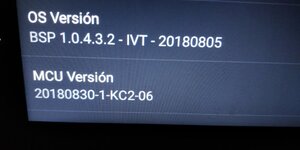
Si ha estado mirando en xda me imagino k habra metido una rom personalizada y eso anula la garantía
De esa misma página me baje yo una rom para mi radio que me arregló un montón de pequeños fallos y me ha ido muy bien.
El problema es que seguramente has metido una rom que era para otro modelo o las has interrumpido en mitad de la instalación, bájate otra e intenta instalarla de nuevo, una vez que encuentres la suya debería arrancarte sin ningún problema
Aqui tienes la pagina con las roms para ese modelo creo
MTCD PX5 Headunits Repository & information (Stock & Custom)
yo tengo instalada una rom malasyc y la verdad es que va de lujo aunque yo tengo otro modelo de radio
Yo lo que haría es intentar instalar la rom que corresponda con tu modelo o una malasyc y otra opción es entrar en modo recovery y restaurarla a "instalación de fábrica"
Si no ter ha dicho el chinorri como entar a modo recovery mira este post
How to enter in Recovery Mode
A mí me funcionó la ultima y me salvó el culo ya que instale un launcher que iba mal me bloqueó la pantalla tactil y no podia desinstalarla, con este método me dejó restaurar y todo como nuevo
me acabo de fijar que en el primer enlace que te puse ya te dice como entrar en recovery y consejos para recuperar la radio al instalar firmware equivocado xD
3. How Do I enter into recovery menu?
Depending on the HeadUnit, the entering into recovery process could vary.
- Reset Button Procedure (You need a needle to access that button inside the Reset hole)
Applicable to:
- HeadUnits with no physical buttons on Headunit (just capacitive buttons) [Brands: Dasaita]
1. Press Reset and hold until button light blinks (15-20secs)
2. Release Reset and press again. Hold it until you see the Marshmallow logo
3. Release Reset and wait for the Recovery menu to appear
- Power Button Procedure [Brands: Dasaita]
Applicable to:
- HeadUnits with physical power button on Headunit [Brands: Dasaita]
- When none of the above procedures worked:
1. Disconnected all power from the unit... ACC & BAT disconnected
2. Prepared 12V power supply with on negative and two positive connectors
3. Connected negative to GND & one positive to BAT
4. Connected USB keyboard
5. Press right ALT (ALT GR on some keyboards) and PrintScreen
6. Connected the other positive lead to ACC (unit does not work if both BAT and ACC are not connected)
6a. Start pressing repeatedly on E (not holding E pressed, but press...release... press... release..... rapidly)
7. The boot logo shows (MarshMallow...etc) and after a few seconds the unit reboots itself
8. Release right CTRL & PrintScreen and continue to repeatedly press on E.
9. The Recovery shows on screen.
4. I have a complete Bricked Unit with a continuous loop. What can I do?
First of all, you have to try to reload the firmware into the unit. As you are not loaded into Android system, you must reload the firmware by using the recovery menu. To enter into recovery menu read the FAQ#3.
Most of the times, reloading the Android firmware solve the issue. Try with different firmwares if you can't succeed at first time. When, even having tried to update your firmware from recovery, but it did not succeed, you probably have corrupted your NAND. In that case a more complex solution is available (desoldering/soldering is required) to come the unit back to life. Thanks @
marchnz for the detailed description on the following thread:


